No-Bake Peanut Butter Bars
By Martis Guleryan Updated
In short: Stir melted butter, graham cracker crumbs, powdered sugar and peanut butter, press into a 9×13-inch pan, spread with melted chocolate and peanut butter, and chill about 1½ hours until set. Makes 24 bars.
- 1 hr 50 min
- 24 bars
- Easy
Why you’ll love this recipe
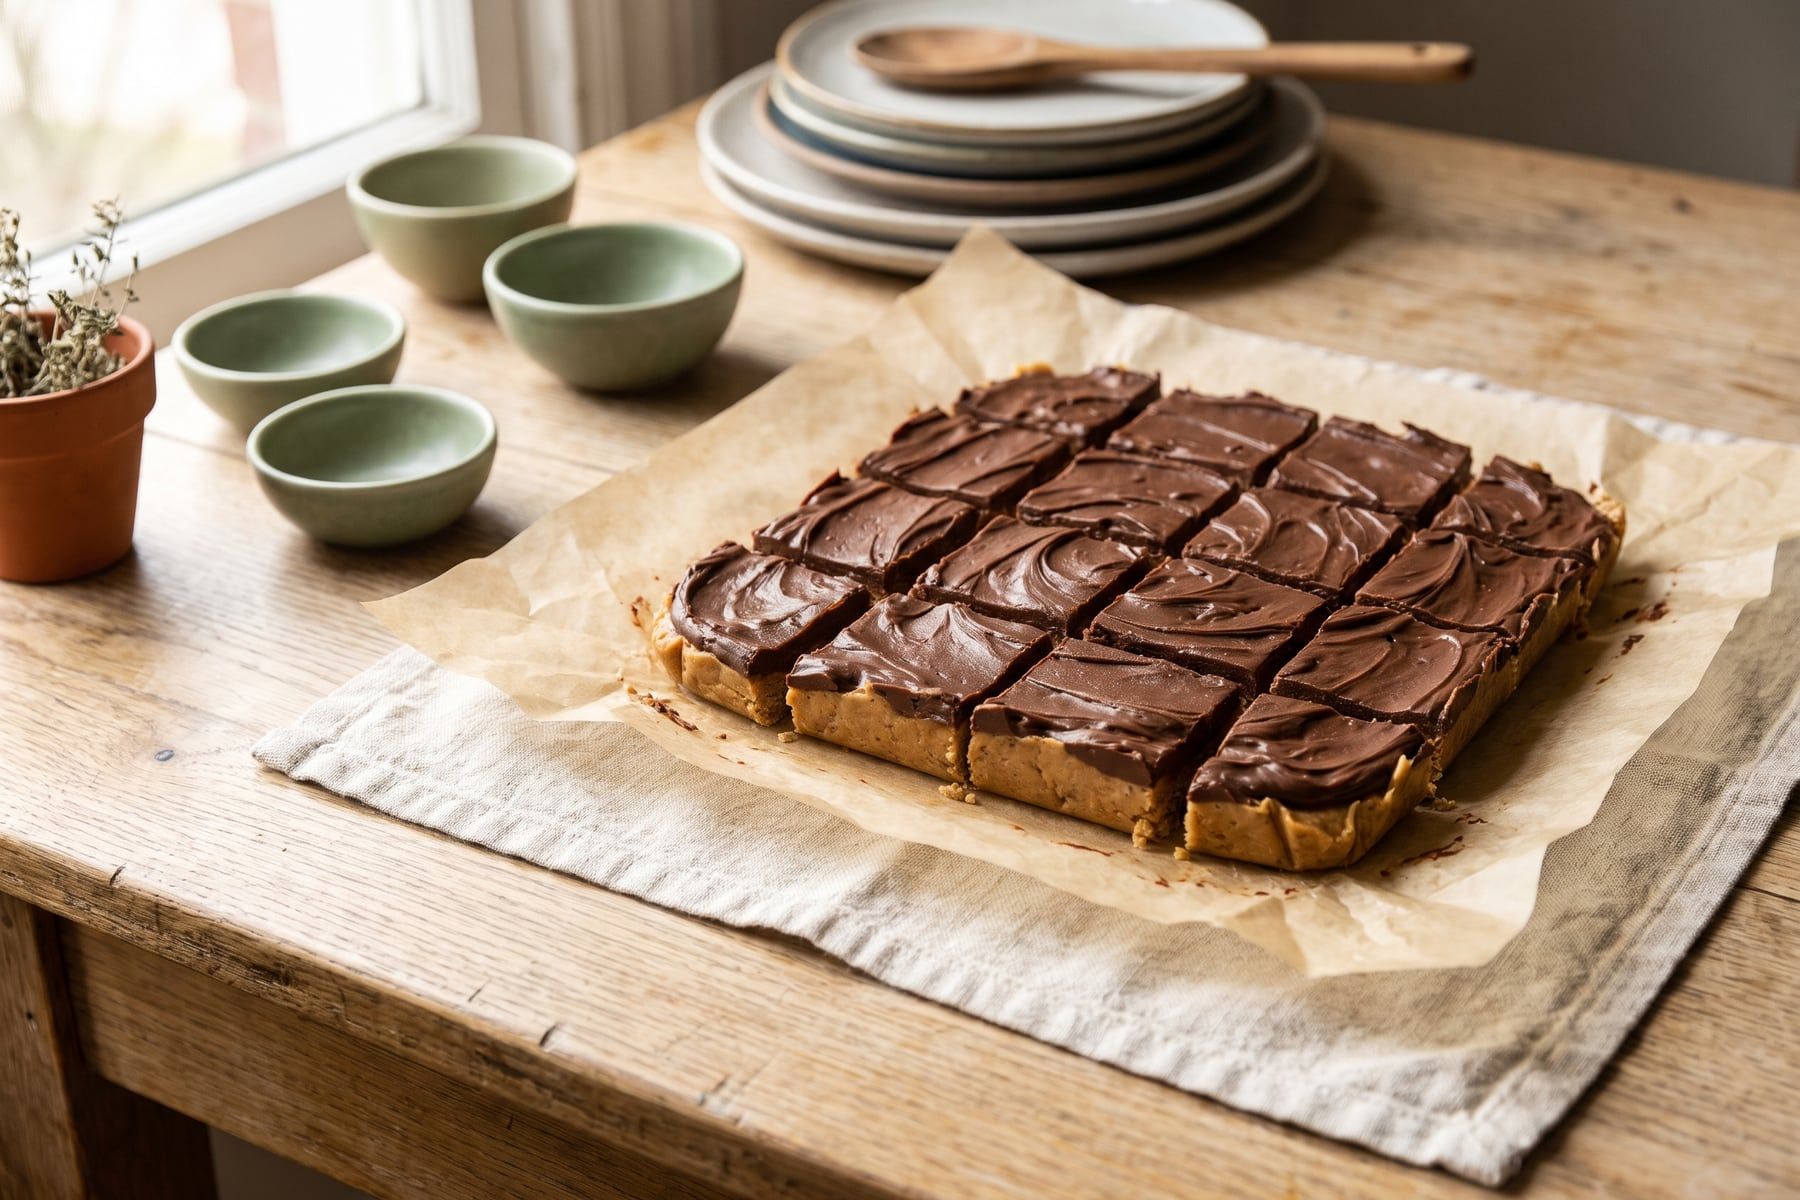
These bars taste like a giant peanut butter cup and come together with a bowl, a pan and a microwave. They are a reliable choice when the oven is full during the holidays or when it is too hot to bake.
- No oven, about 20 minutes of hands-on time.
- Six ingredients you probably have already.
- Freezer-friendly for holiday trays.
Getting clean, even bars
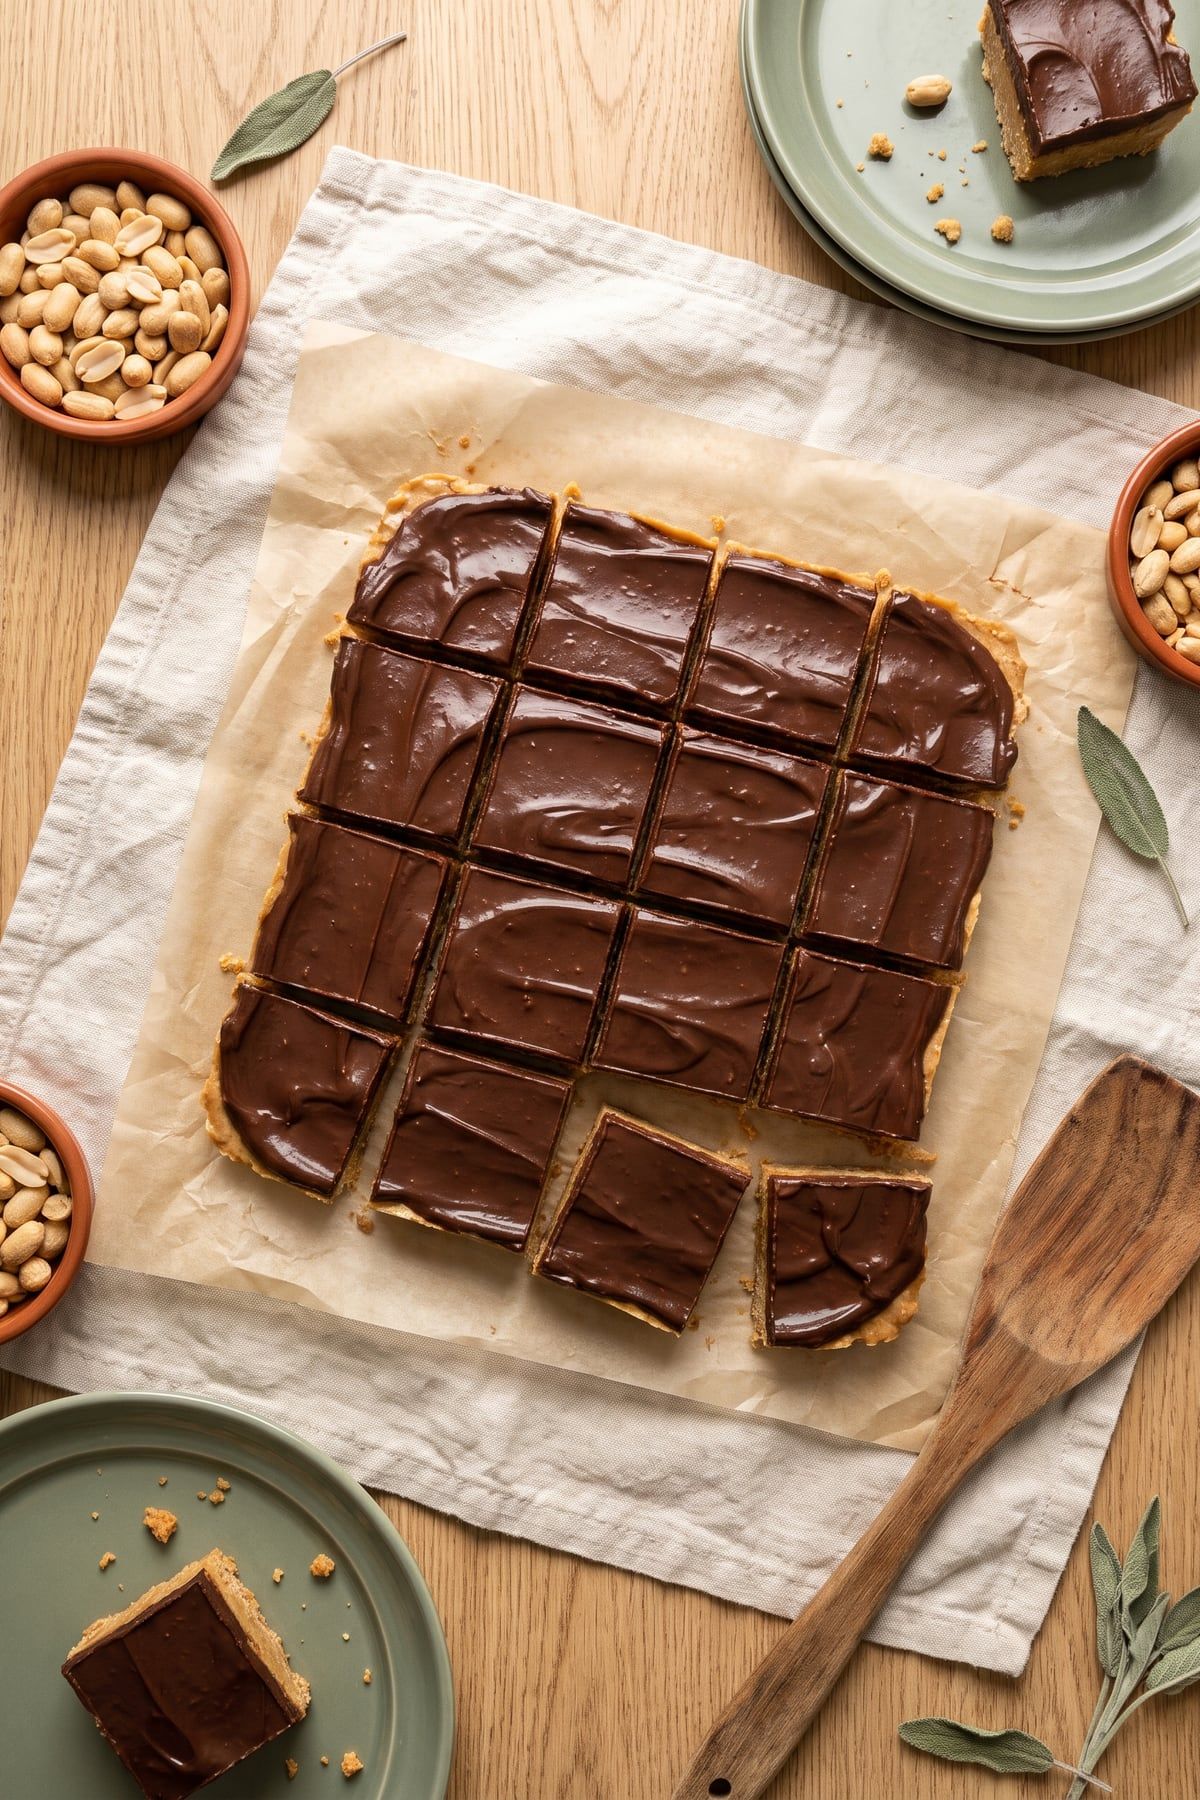
The base needs both enough fat and enough pressure to hold. Melted butter and peanut butter bind the crumbs and powdered sugar, and packing them tightly removes air pockets that make bars fall apart. For the topping, adding a little peanut butter to the chocolate keeps it slightly softer, so it cuts cleanly instead of shattering. Lining the pan with parchment lets you lift out the whole slab and cut straight down on a board.
Ingredient substitutions
| Instead of | You can use |
|---|---|
| Graham cracker crumbs | Crushed vanilla wafers or digestive biscuits, measured the same way. |
| Semisweet chips | Milk chocolate chips for a sweeter, peanut-butter-cup style topping. |
| Creamy peanut butter | Crunchy peanut butter in the base for extra texture; keep the topping creamy. |
No-Bake Peanut Butter Bars
- Prep
- 15 min
- Cook
- 5 min
- Chill
- 1 hr 30 min
- Total
- 1 hr 50 min
Ingredients
Peanut butter layer
Chocolate topping
Metric weights use ingredient-specific densities from King Arthur Baking — Ingredient Weight Chart. For baking, weighing is more accurate than cups.
Instructions
Tap a step number to mark it done.
-
Step 1: Line the pan
Line a 9×13-inch pan with parchment, leaving some overhang on the long sides so you can lift the bars out later.
-
Step 2: Mix the base
In a large bowl, stir the melted butter, graham cracker crumbs, powdered sugar and 1 cup of peanut butter until evenly combined and thick.
-
Step 3: Press into the pan
Press the mixture firmly and evenly into the lined pan.
Tip: Use the flat bottom of a measuring cup to pack the layer tightly. A firmly pressed base holds together when you cut the bars.
-
Step 4: Melt the topping
Microwave the chocolate chips and ¼ cup of peanut butter in a microwave-safe bowl in 30-second bursts, stirring after each, until smooth, about 1½ minutes total.
-
Step 5: Spread and chill
Pour the chocolate over the peanut butter layer and spread it to the edges. Refrigerate uncovered until the topping is firm, about 1½ hours.
-
Step 6: Cut
Lift the slab out with the parchment and let it stand 10 minutes so the chocolate does not crack. Cut into 24 bars with a large knife dipped in hot water and wiped dry between cuts.
Equipment
- 9×13-inch baking pan
- Parchment paper
- Microwave-safe bowl
Recipe from joyfulhomecooking.com/recipes/no-bake-peanut-butter-bars/
Tips for the best results
- Use a regular, stabilized creamy peanut butter. Natural peanut butter separates and makes the base oily and crumbly.
- Crush graham crackers in a food processor or in a zip-top bag with a rolling pin until they are fine crumbs.
- The bars are rich, so cut them small. They are easiest to slice when cold but not frozen solid.
Storage, reheating and freezing
- Refrigerator
- Store in an airtight container in the fridge for up to 1 week. At room temperature they soften, so keep them chilled until serving.
- Reheating
- No reheating needed. Let bars stand at room temperature 10 minutes before eating.
- Freezing
- Freeze in a single layer, then stack with parchment between layers in an airtight container for up to 3 months. Thaw in the fridge.
Frequently asked questions
Why are my peanut butter bars crumbly?
The base was not pressed firmly enough, or natural peanut butter was used. Pack the layer tightly and use a regular creamy peanut butter.
Why did my chocolate topping crack when I cut it?
The chocolate was too cold. Let the chilled slab sit 10 minutes and use a warm, dry knife.
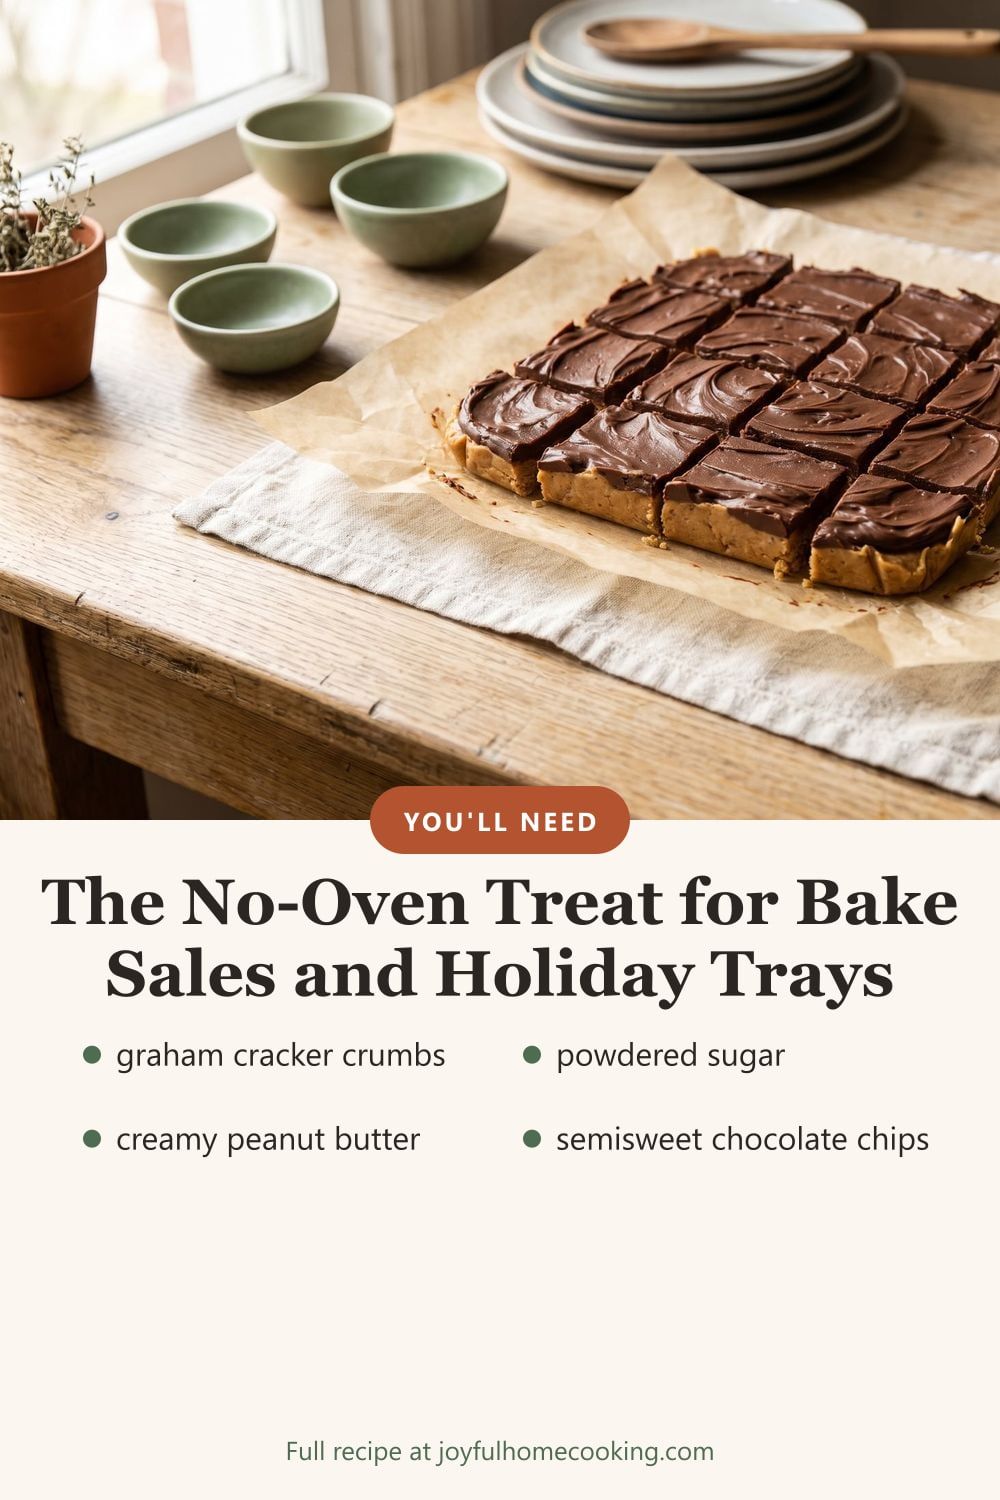
Pin it for later
Save your favorite design to a Pinterest board so the recipe is there when you need it.
Reviews
Be the first to review this recipe
Tell us how it turned out and what you changed. Your notes help other home cooks.
Email us your reviewWritten by Martis Guleryan
Martis Guleryan is the founder of Joyful Home Cooking and writes and edits the recipes and cooking guides on the site, with a focus on easy weeknight dinners, family-friendly baking and clear, practical steps.
Published , last updated . Read our editorial policy.
Sources and food safety references
You might also like
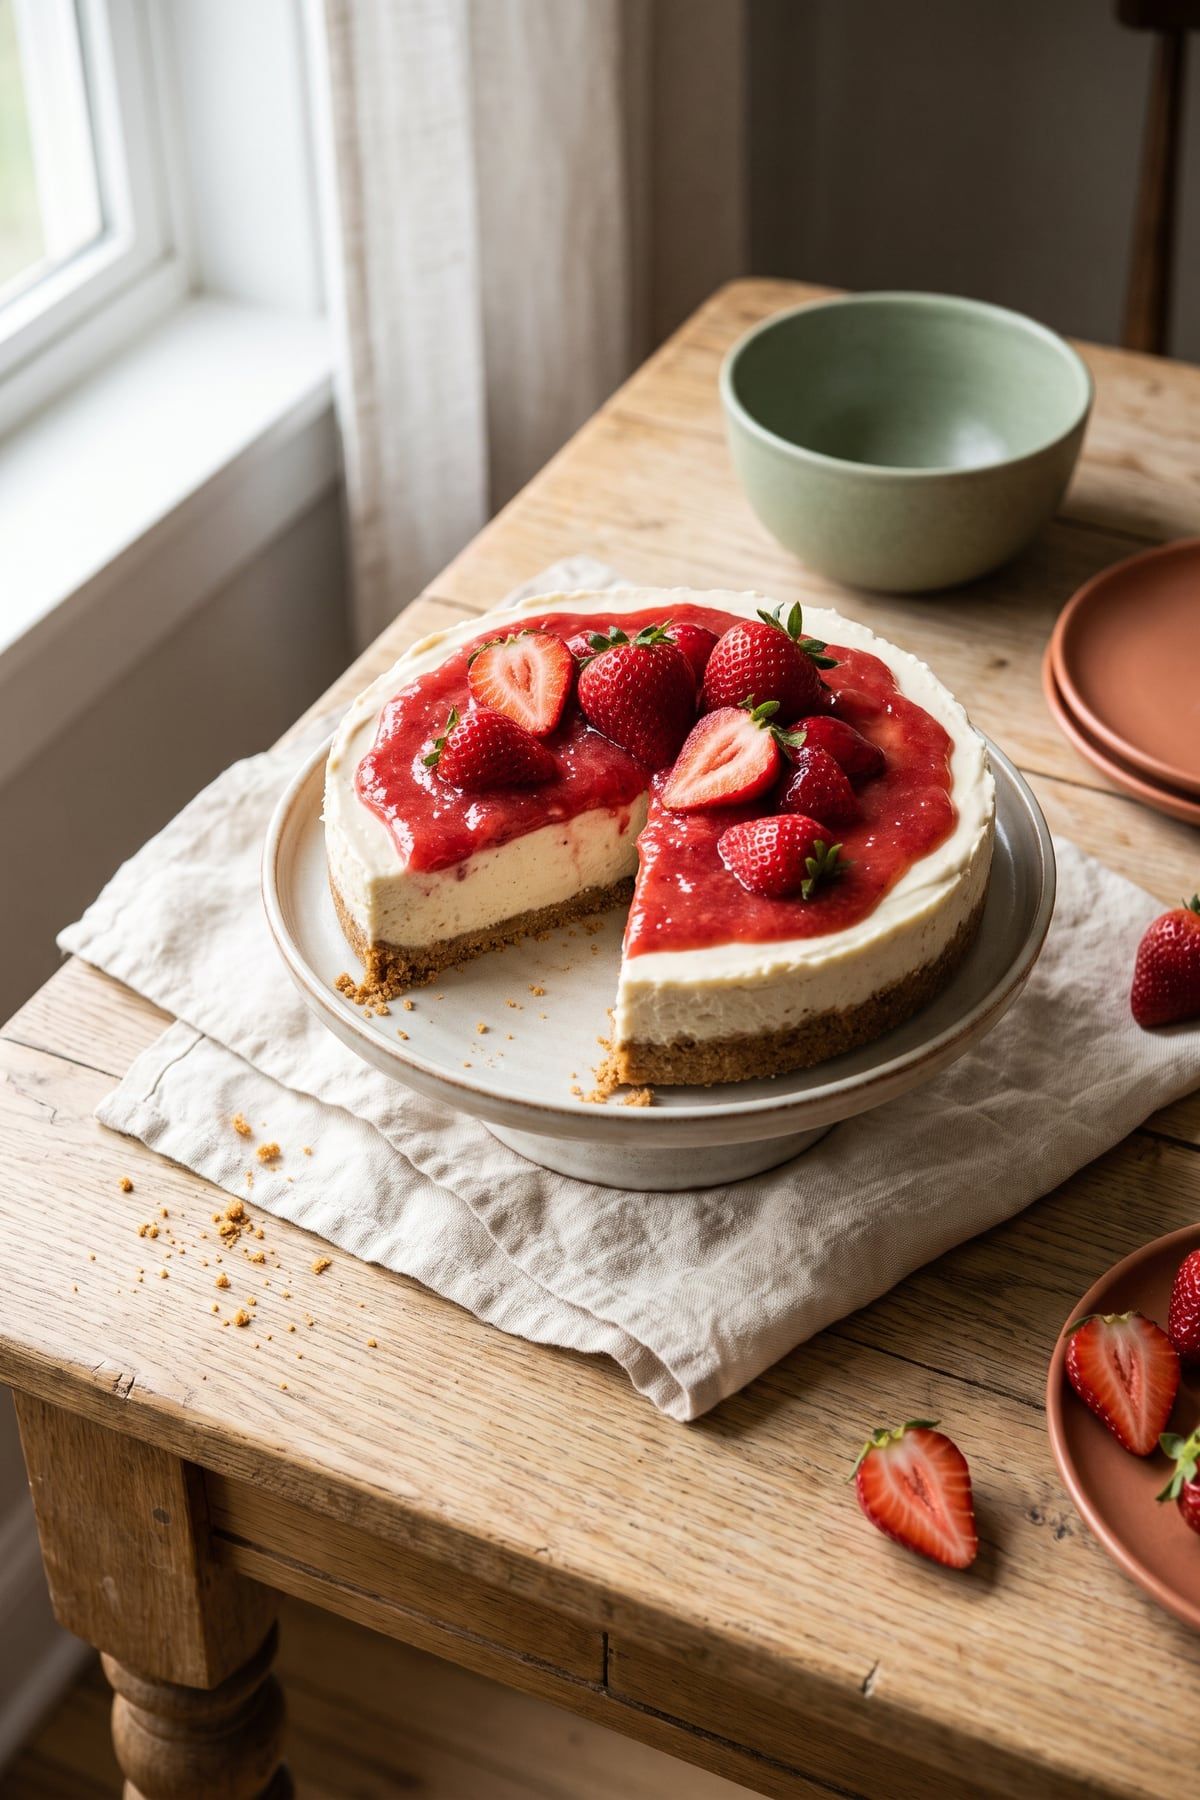
No-Bake Cheesecake
6 hr 30 min
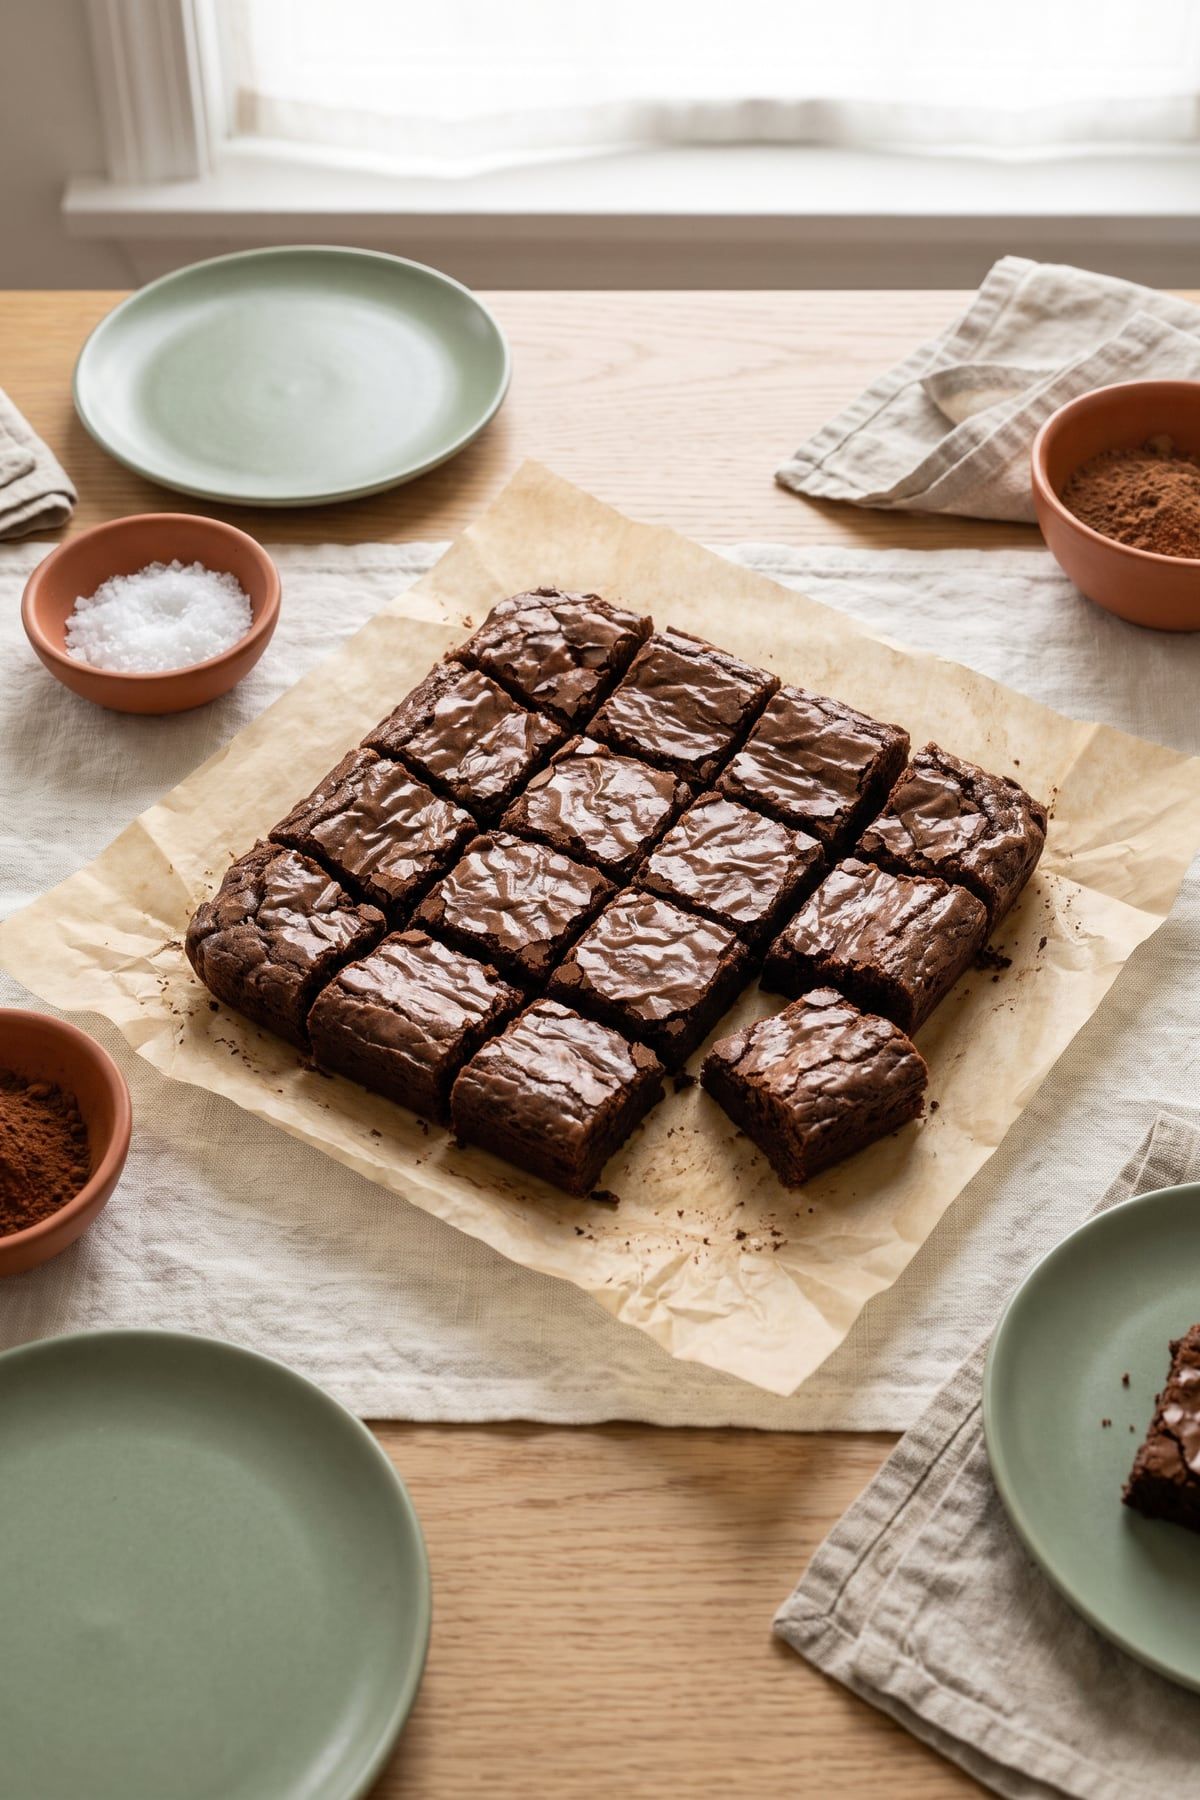
Fudgy Brownies
2 hr 15 min
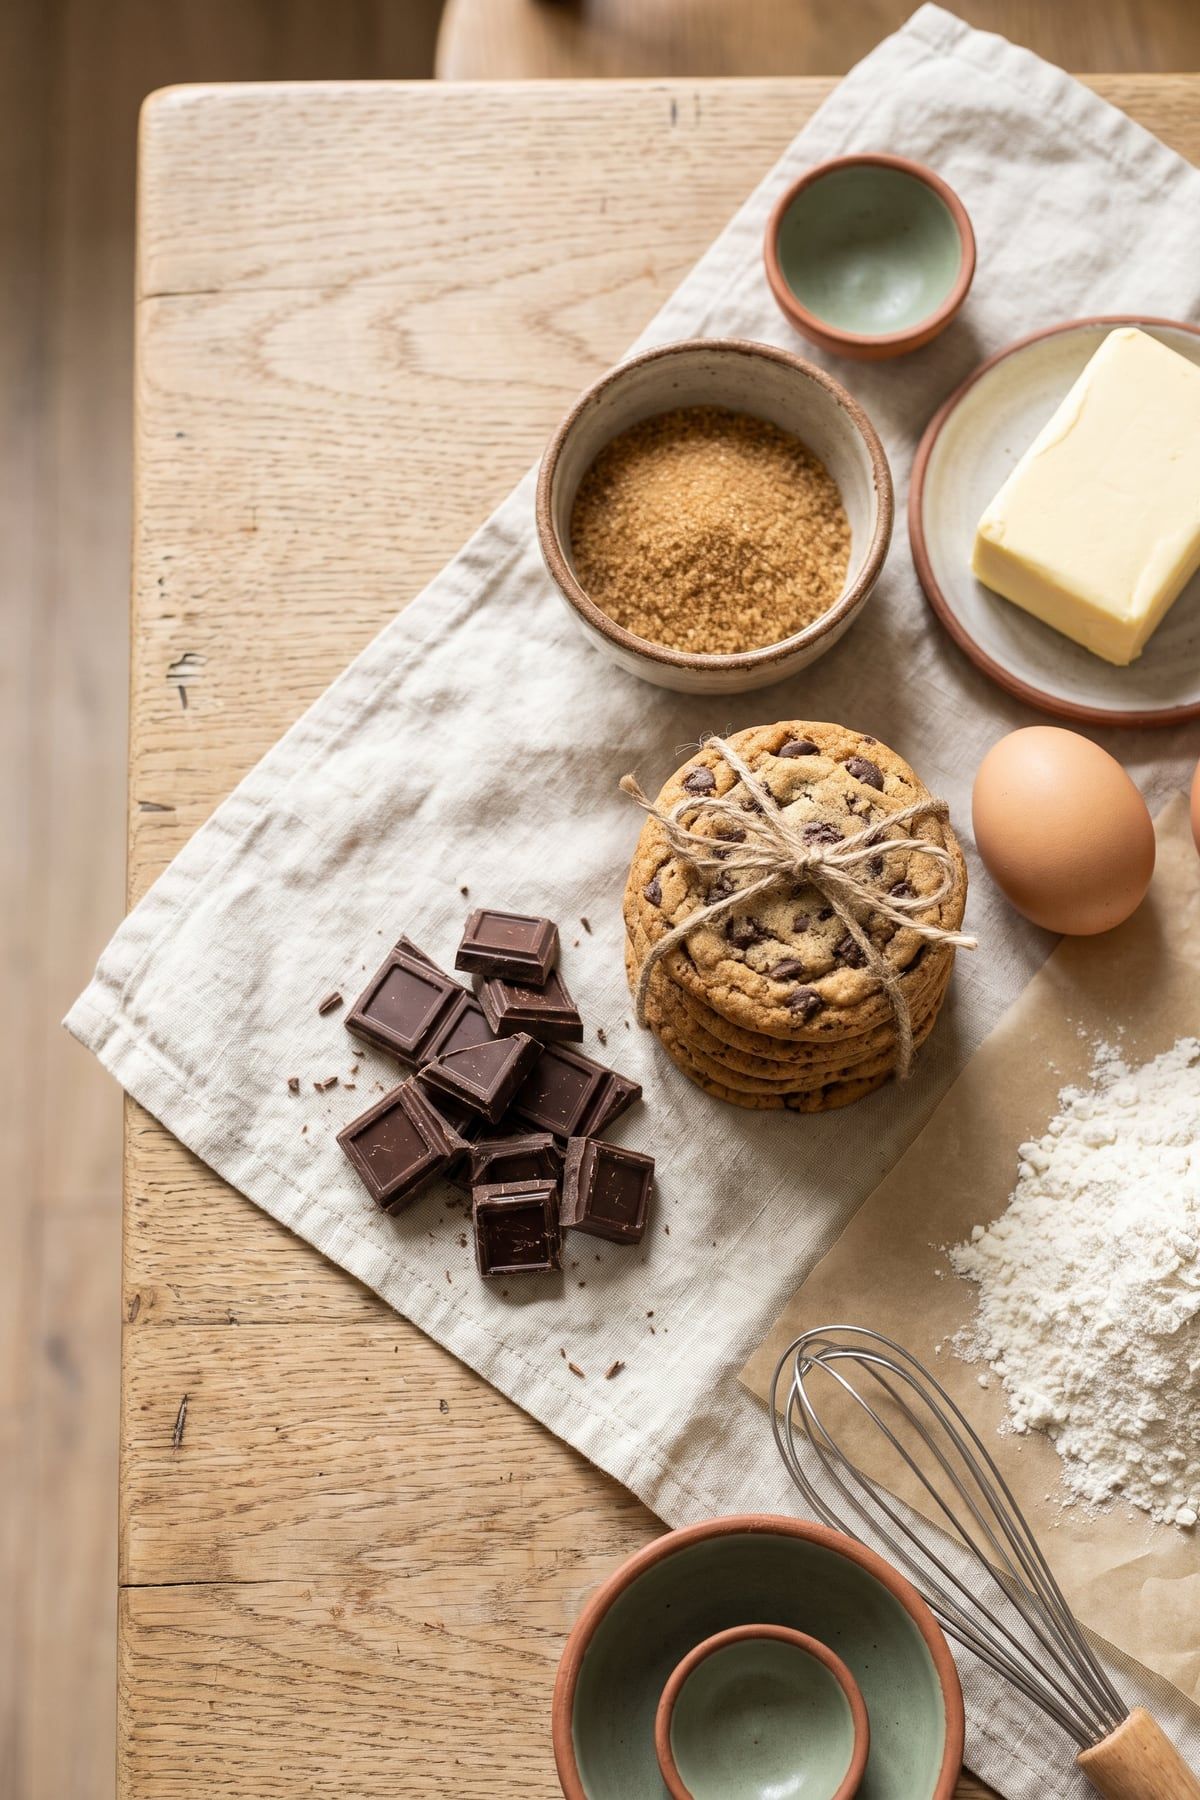
Chewy Chocolate Chip Cookies
1 hr 9 min
Soft Cut-Out Sugar Cookies
2 hr 30 min